 |
|

| Tutorials |
|||||
“Yitter”- Creating a new web service In this example case, you will follow instructions for building a simple mashup website using HammerKit. We call it Yitter - Yet another Twitter MashUp. It has one simple function: to display the tweets from a certain user together with its geo-location information on a Google Map. 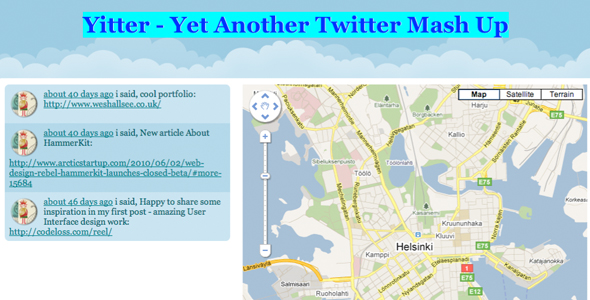 This example will guide you through the process of building Yitter and provide an insight into how easy it can be to build interesting web services with HammerKit. Step 1 - Create the site Go to your account manager by logging in at https://my.hammerkit.com/ and create a new blank site called Yitter. 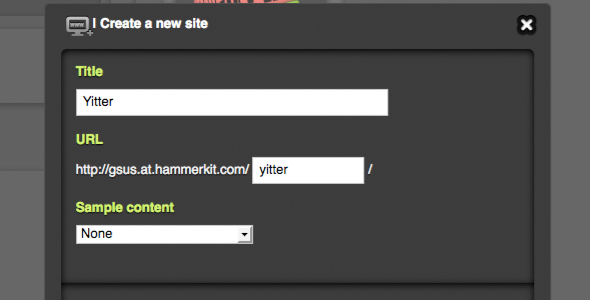 Wait a short while (about 2 min) until the site is updated and ready to be edited. Once the site is created, login and go to the Component Editor by selecting it from the start button (blue wheel) in the bottom left corner. 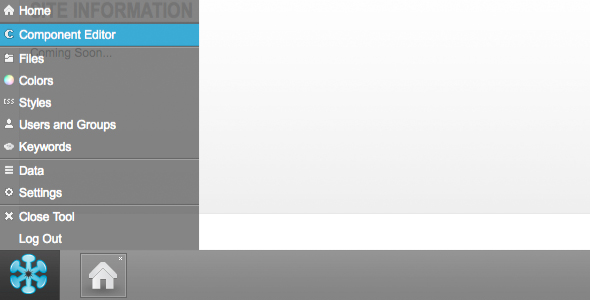 Step 2 - Create the first components Create a new component by clicking on the "Plus" icon above the list of components.  Right click on the component you have just created, choose "Properties..." 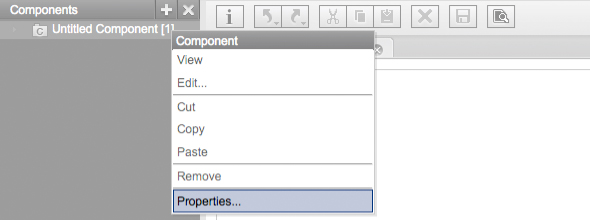 Rename the component title to "Yitter Template". Select "Template" in "type" section. Tick on "Set as the default template" and click "Save". 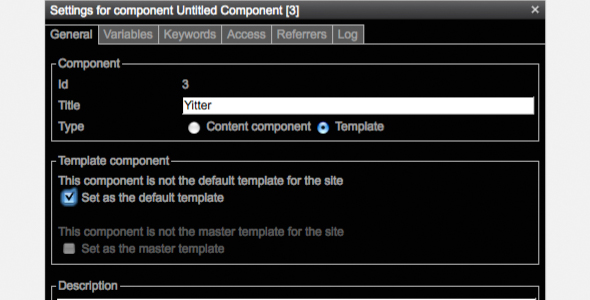 Create another component by clicking on the "Plus" icon above the list of components. Right click on the component you have just created, choose "Properties..." Rename the component title to "Yitter". Select "Content Component" in "type" section (chosen by default). Tick on "Set as the default content component". And click "Save". 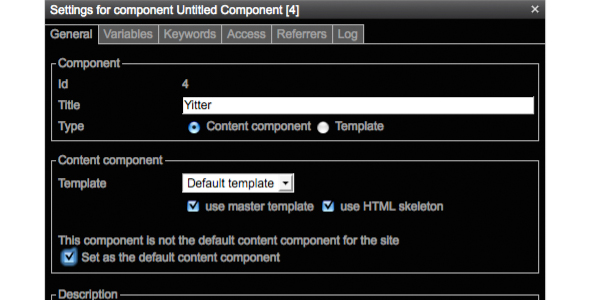 We have created a template and a content component. The final page displayed to visitors is the combination of template and content component. Step 3 - Create the Yitter template In this step, we will build a simple template with 3 parts: header, content and footer. In this example, we will use a table to separate those parts. Open "Yitter Template" by double clicking on the component's title. On the Element tray on your left side, drag and drop a "Table" element onto the "Yitter Template" component. 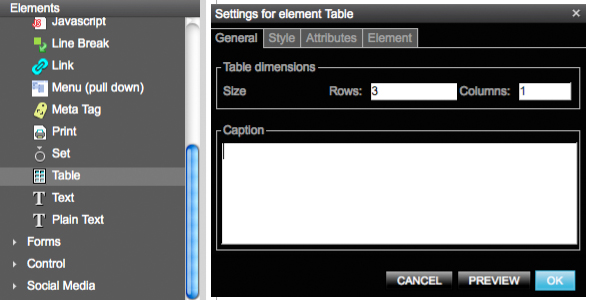 We want to have a 3x1 table for the template. So let's fill in 3 for the numbers of rows and 1 for that of the column in the settings box. Click "OK" to save the settings. Then click “Save” to save the component. On the Element panel on your left side, drag and drop a "Text" element onto the top cell of the table. 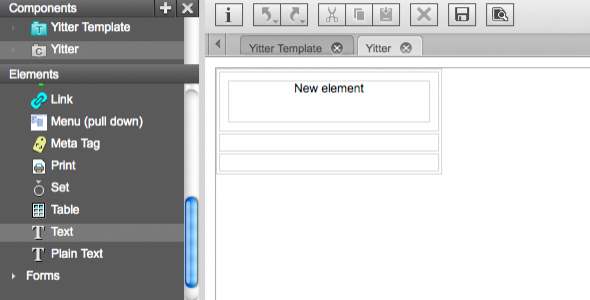 In the rich text editor, type "Yitter - Yet another Twitter MashUp". • Select the text and choose the format of "Heading1" and click on the "center align" icon to align the text. • Press "OK" . 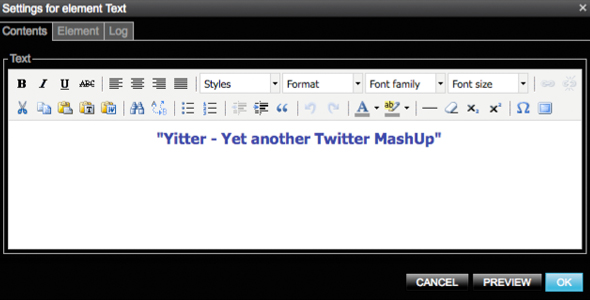 On the Element panel on your left side, drag and drop a "Text" element onto the bottom cell of the table. In the rich text editor, type whatever you want for the footer of the site, for instance "IE6 must die. Thanks for visiting." • Be creative with styling. • Press "OK" 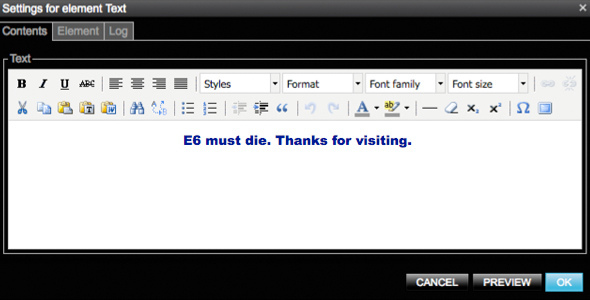 On the Element panel on your left side, drag and drop a "Component Include" element onto the middle cell of the table. Once the settings dialog is open, select the ‘Include template’s content component‘ checkbox. This adds the “editable area” in the template. This means that all content components that use the Default Template will be shown in that specific area of the template. Press “OK”. 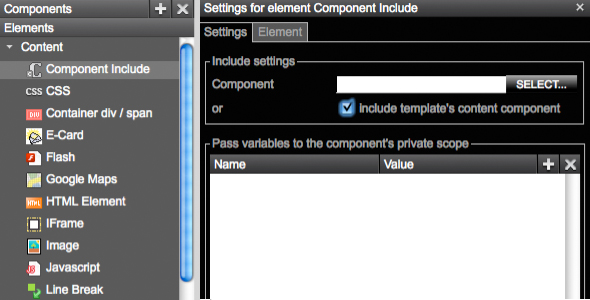 We now finish 90% the task of building the template. Let's save it by clicking on the "floppy disk" icon.  Step 4 - Adding content to Yitter component Open the second component "Yitter" by double clicking on the component's title. On the Element panel on your left side, drag and drop an "HTML element" onto the "Yitter" component. We want to have a section in the HTML document so let's type in "div" for the Tag Name and tick on "this element can have subelements". We also want to have some Attributes for styling later on. Click on the ‘+ sign’ on the right side to ad a new attribute. Let's fill in "class" for attribute name and "container ui-corner-all" for the value. Press "OK"  Next, drag and drop a "Table" element onto the previous HTML element. Create 1 row, 2 columns table. The purpose of this table is to quickly create a 2-column layout. 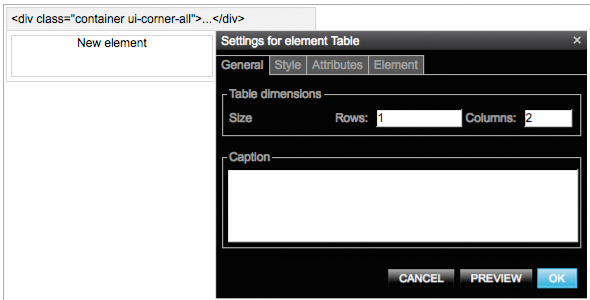 Create two new HTML elements, one for each table cell inside the element created above. The tag name is “div” for both. For the first element create two attributes: Name/value as follows: id/ timeline and class/tweet. For the second element, create an attribute with the name and value: id/map Press “OK”  The end result looks like this: 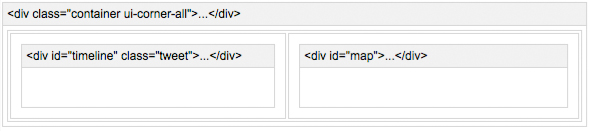 Now it's time for a little fancy effect. Let's create a modal box prompting for Twitter username. On the Element panel, Forms section, drag and drop a new Form element to the canvas. Place it outside the DIV section. Leave the "General" tab blank since we are more interested in styling. Click "Style" tab in the settings dialog. We want to hide the form i as it will be displayed as a pop-up in the final application. On style tab, click on "Positioning and Display" and on the dropdown list for "Display", choose "none". 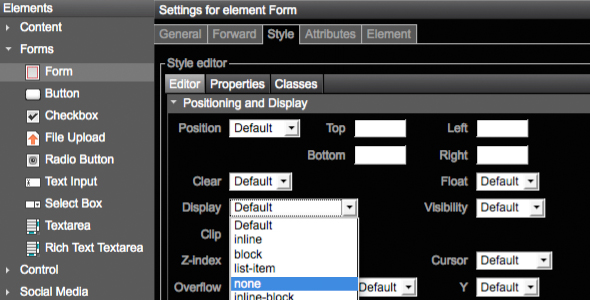 Finally click on the Attributes tab, fill in “twitter-form” as the Value for the id attribute. Press "OK" 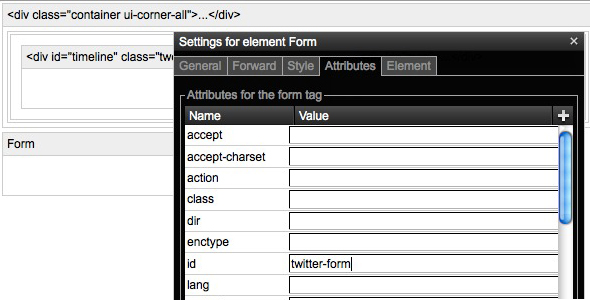 Next let's drag a new text inside the form by using the Text Element. The text can be "Your Twitter Username"  Drag and drop a Text Input element (under the Form tools ) for the form. This is where the users fill in their twitter username. Type "username" as the name. Click on Attributes tab and type "text ui-corner-all" for the Class attribute and “username” for the Id. The Name attribute will be automatically fetched from the General Tab. Press "OK" 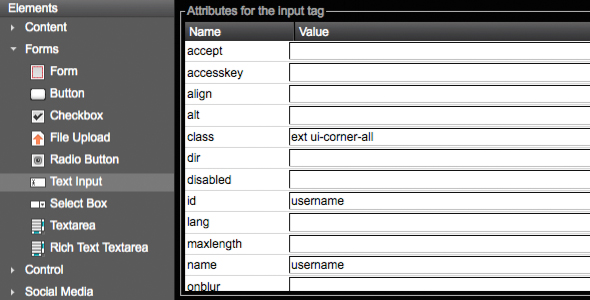 We now finish the task of building the content. Let's save it by clicking on the "floppy disk" icon in the top toolbar between the Delete and Preview icons.  Step 5 - Adding Javascript & CSS Now it is time to make the magic happen. Most of the functionality and style is done by Javascript and CSS. Thanks to the power of Ajax technology new tweets are retrieved from Twitter and displayed on Google Maps without any need from the backend. Get the files that add the magic Download the package:  After extracting the file, you will have 3 files: • jsapi.js - Google Ajax library to load the Google Map • yitter.js - The magic file for getting tweets and show them on the map • yitter.css - Add some styles to the pages. Open the File Manager by clicking on the Start button and choosing "Files". File Manager is the place where you add, remove and manage files in HammerKit. 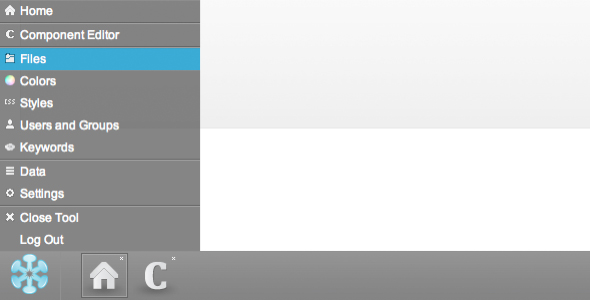 Let's create a new folder by clicking "add folder" icon. It is the second icon from the left.  Rename it to "data" and press “Save”. Move to data folder by clicking on data folder on the directory tree or clicking on the folder icon. 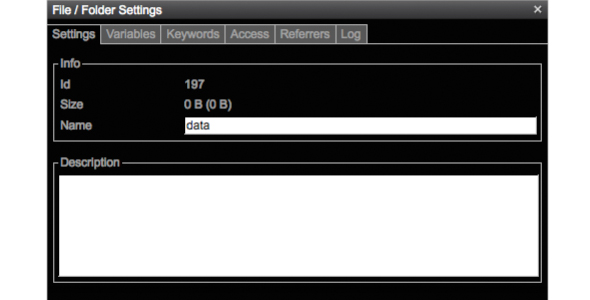 Click on "add file" icon to upload a new file.  Choose "jsapi.js" from your computer’s downloaded files and click Upload. Repeat the above two steps to upload "yitter.js" and "yitter.css" 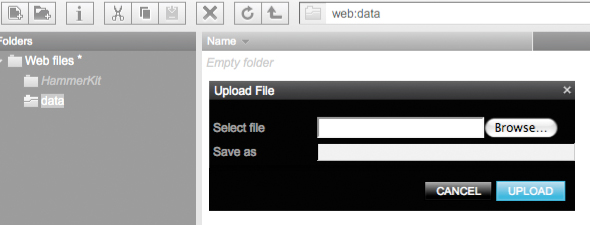  Come back to your Component Editor by clicking “C” icon on the menu bar . Open the "Yitter Template" if it is not already open. On the Element panel on your left side, drag and drop a "Javascript" element onto the space after the table, or it can be anywhere you want on the canvas.  Once the settings dialog is open, choose "Include javascript library file" from the mode drop down list. For the library file, type "jsapi" and choose "web:data/jsapi.js" from the drop down list. Press OK. Repeat the two above steps to drag and drop a new Javascript element and include "yitter.js". Make sure that the Javascript element for "yitter.js" is placed after "jsapi.js" element. Otherwise there will be javascript error when you preview the actual site since yitter.js depends on some functions which are loaded first in jsapi.js. 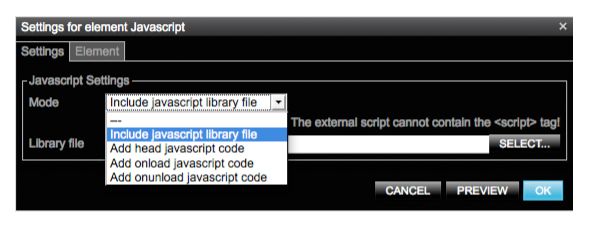  On the Element panel on your left side, drag and drop a "CSS" element onto the space after the table. Once the settings dialog is open, from the mode drop down list, choose "Include CSS stylesheet file". For the library file, type "yitter" and choose "web:data/yitter.css" from the drop down list. Press OK.  Repeat the two above steps to drag and drop a new CSS element. This time, copy and paste the following link: http://ajax.googleapis.com/ajax/libs/jqueryui/1.8/themes/vader/jquery-ui.css to library file text input. (Make sure that there are no spaces in the URL.) Press OK . DONE! :) 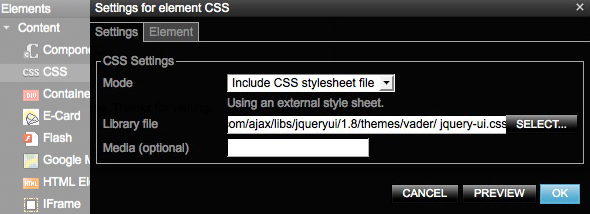 Now your template is 100% completed, let's see your result by opening the "Yitter" component. Once you are there, click the Preview button, your site will be open in a new window. Type ‘zocoi’ as the user name and then press ‘OK’. It will display the positions of zocoi’s most recent tweets on the Google Map. Try experimenting with different usernames to see the results. |
Product
|
Company
|
Community
|
Awards
|
|||||||||||||||||||||||||||||||||||||||||||||||||||||||||||||||||||||||||||||||


